The Difference Cut
Find an accomplice
Prompt 1
INVIDEO EDITOR BRIEF Shape flicker transition At every cut (or marker), add a short burst of 4-5 solid white rectangles on their own layer above the video. Set them to Difference blend, overlapping with staggered edges, each blinking rapidly on and off (1-2 frames) out of phase with the others. At the peak, right on the cut, they should cover about 90% of the frame, leaving only slivers of picture. Coverage builds a few frames before the cut and falls away a few frames after, about a third of a second total. Every cut gets a different arrangement and blink pattern. For vertical video, use tall slabs and wide bands across the narrow width. Don't split or trim clips, and leave audio untouched.
Tutorial
DENIZ AKKABAK · INVIDEO EDITOR TUTORIAL · @DENIZ.AKKABAK
MADE IN INVIDEO · invideo.io/i/DENIZ-ig
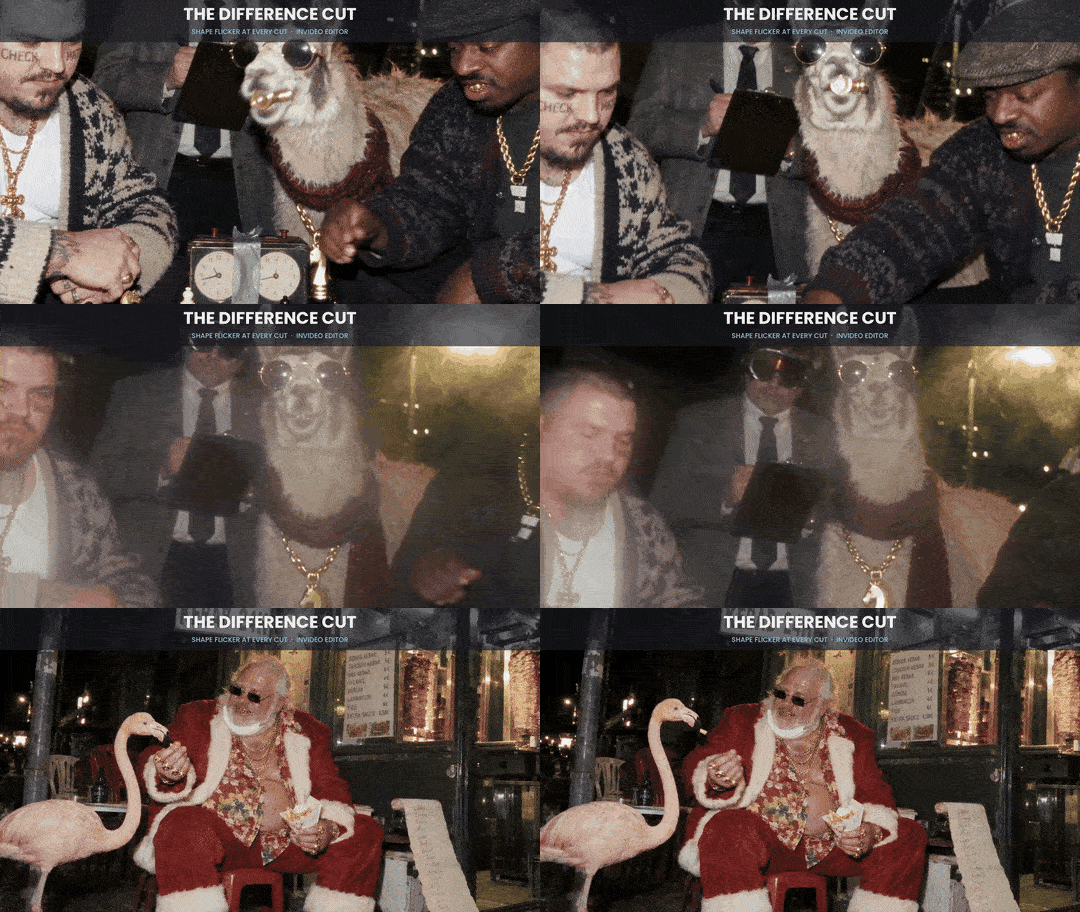
The Difference Cut
How one plain-language brief makes invideo Editor stamp a strobing burst of white, Difference-blended shapes onto every cut: fifteen cuts, fifteen patterns, a third of a second each.
A TUTORIAL BY DENIZ AKKABAK · @DENIZ.AKKABAK
PIPELINE INVIDEO EDITOR FORMAT 16:9 · 1:23 · 23.976 FPS GENRE FLASH-PHOTO COMEDY MONTAGE · TRANSITIONS
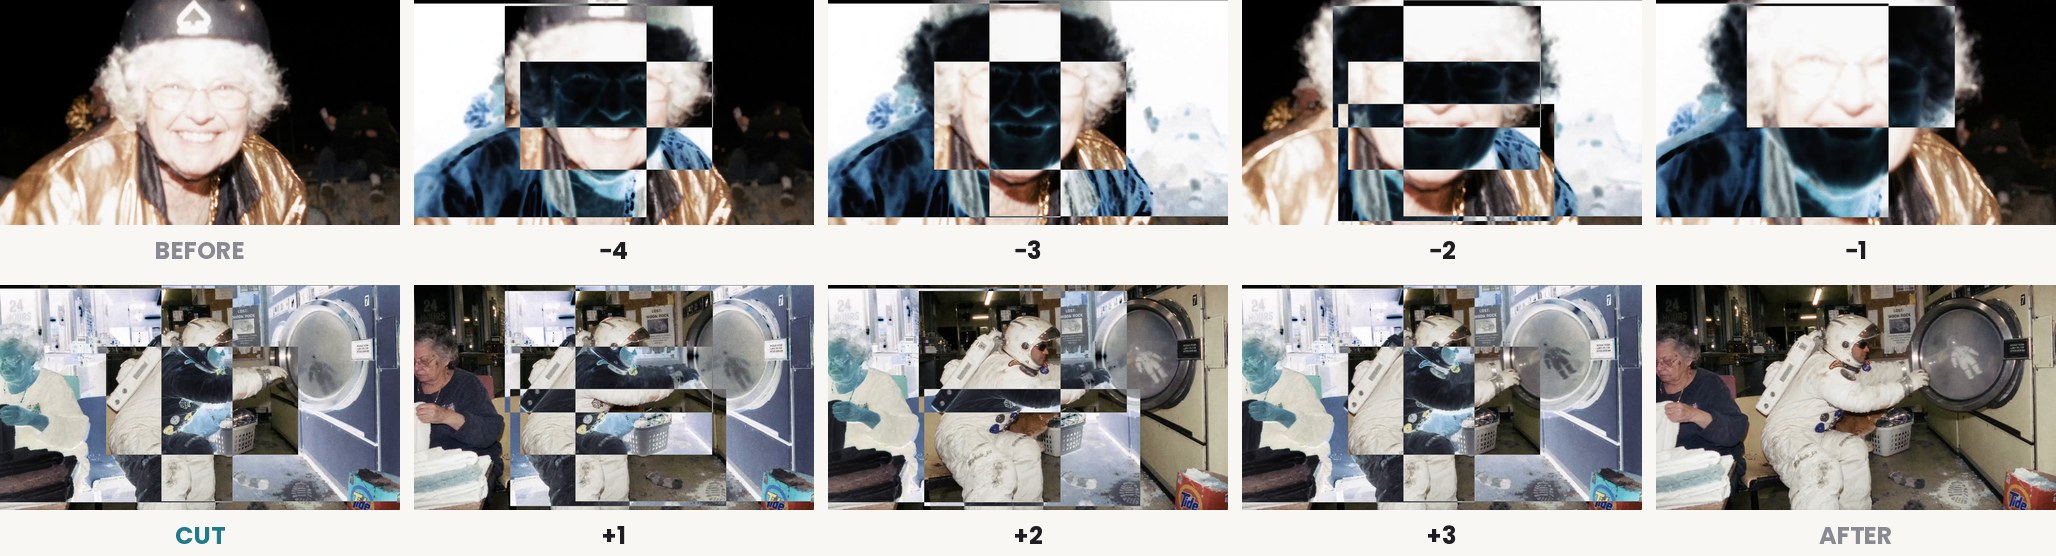
The film is a run of absurd flash-lit vignettes: a nun with a pit bull, a grandmother in a helmet, an astronaut doing laundry. Fifteen hard cuts hold it together, and every one of them is hidden inside a burst: four or five white rectangles flickering on their own layer, set to Difference, so wherever they land the picture flips into its own negative. Each burst lasts 8 frames, four before the cut and four after, about a third of a second, and the cut itself happens at the moment the frame is almost fully covered.
Nothing about the clips changes. The burst sits above the footage, the cut stays exactly where you made it, the sound is never touched. And you never design fifteen transitions: you describe the rule once and invideo Editor gives every cut its own arrangement and blink pattern.
THE PIPELINE AT A GLANCE
- 01
Build the cut
Upload the clips and lay them on the timeline in order. Every cut becomes a trigger; a marker adds one where there is no cut.
- 02
Give the brief
Paste the brief below into invideo Editor. One paragraph covers every cut, the vertical version included.
- 03
Timeline and export
The bursts land on their own layer above the video, and the finished film is exported with the edit and the audio unchanged.
STEP 01 — INVIDEO EDITOR
Build the Cut
The brief has no idea where your transitions go; the edit tells it. Every cut on the timeline is a trigger, so the rhythm of the effect is simply the rhythm of your cutting. In this film that is fifteen cuts across 1:23, roughly one every five seconds, with cuts 13 and 14 only a second apart. Each still gets its own pattern, so tight cutting reads as a stutter rather than a repeat.
The (or marker) in the first line is your escape hatch. Drop a marker on a long shot to flash it without cutting, or on a beat in the music to land a burst where there is no edit at all.
THE CUT MAP

STEP 02 — INVIDEO EDITOR
The Brief
The clips on the timeline are the whole input: no references, no presets, no keyframing. The brief is written the way you would brief a motion designer: material, blend, rhythm, envelope, variety, then a closing line about what must not change. Step 04 takes it apart.
Prompt 1
INVIDEO EDITOR BRIEF Shape flicker transition At every cut (or marker), add a short burst of 4-5 solid white rectangles on their own layer above the video. Set them to Difference blend, overlapping with staggered edges, each blinking rapidly on and off (1-2 frames) out of phase with the others. At the peak, right on the cut, they should cover about 90% of the frame, leaving only slivers of picture. Coverage builds a few frames before the cut and falls away a few frames after, about a third of a second total. Every cut gets a different arrangement and blink pattern. For vertical video, use tall slabs and wide bands across the narrow width. Don't split or trim clips, and leave audio untouched.
ANATOMY OF ONE BURST
STEP 03 — OUTPUT
Fifteen Cuts, Fifteen Patterns
Here is every cut at the frame it happens. No two arrangements repeat: some bursts read as a grid, some as two or three slabs, some as a scatter of bands, and the blink pattern under each is different again.
EVERY CUT, AT THE CUT
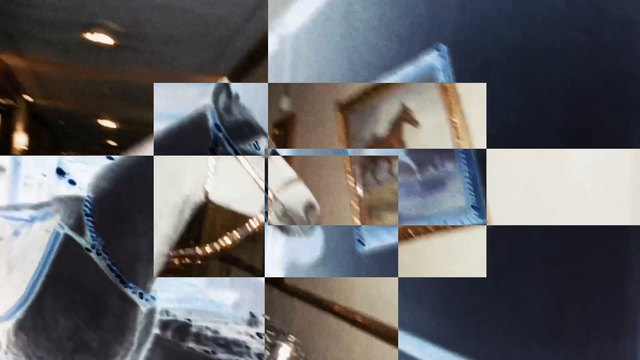
CUT 01 · 0:05
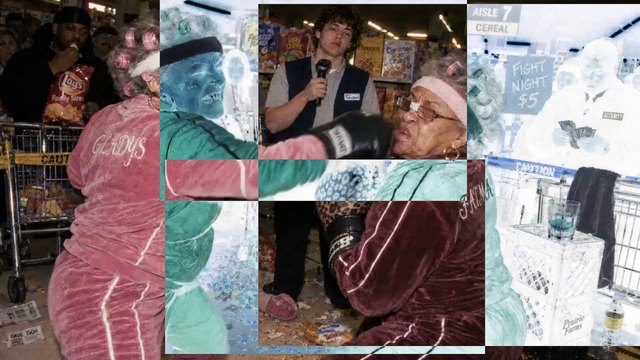
CUT 02 · 0:09
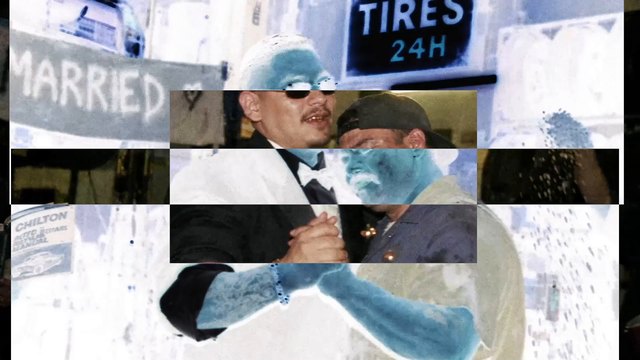
CUT 03 · 0:17
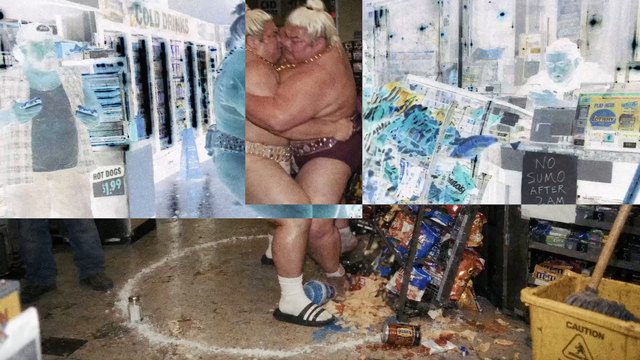
CUT 04 · 0:23
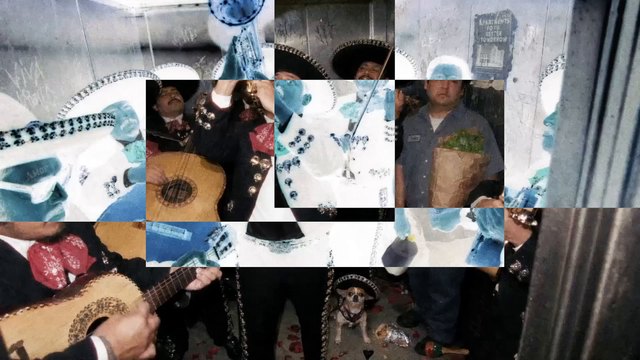
CUT 05 · 0:28
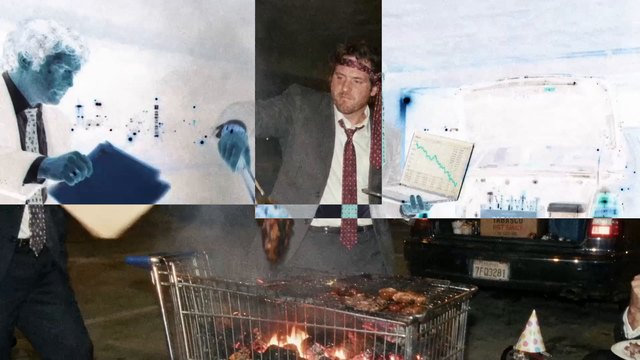
CUT 06 · 0:34
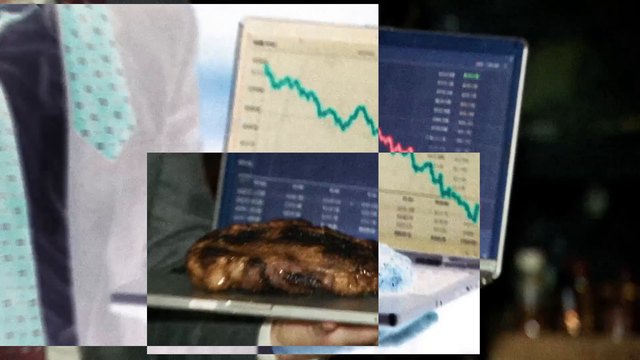
CUT 07 · 0:37

CUT 08 · 0:40
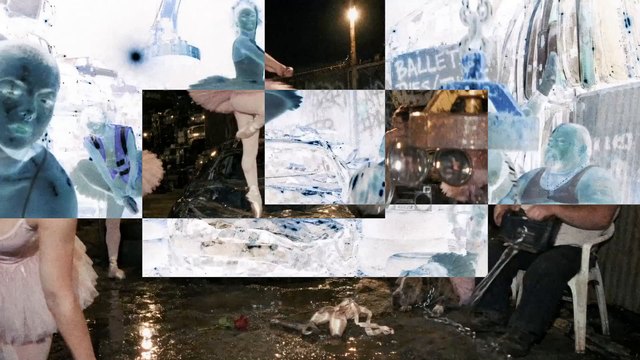
CUT 09 · 0:48
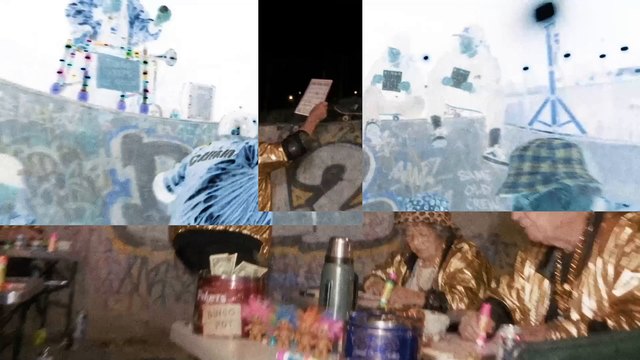
CUT 10 · 0:53
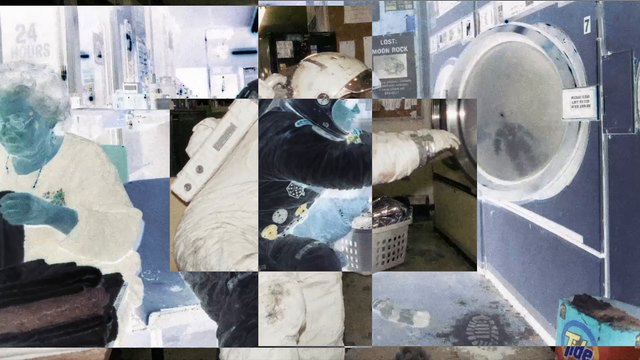
CUT 11 · 0:58
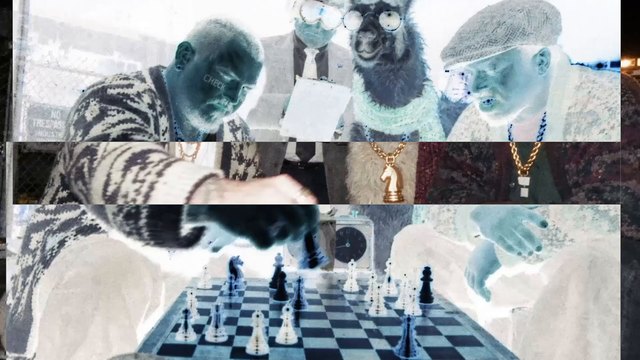
CUT 12 · 1:03
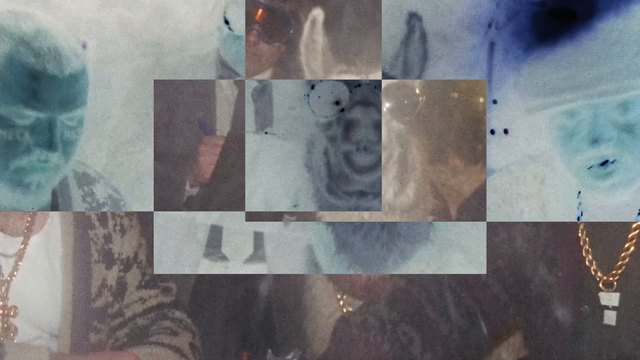
CUT 13 · 1:10
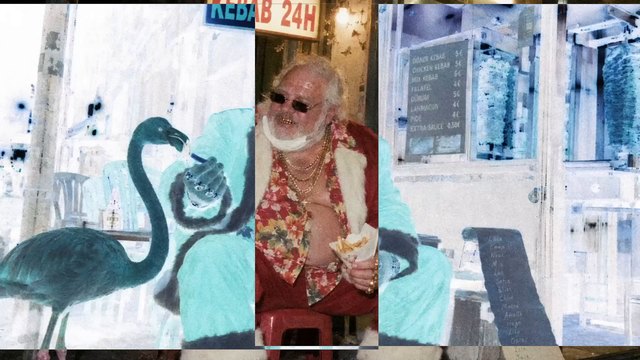
CUT 14 · 1:11
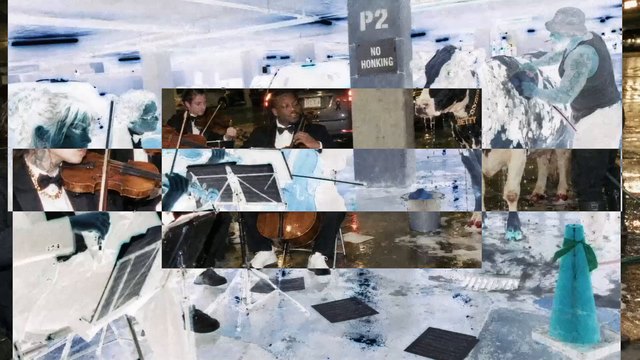
CUT 15 · 1:15
STEP 04
Anatomy — Why One Paragraph Builds Fifteen Transitions
- 01
The trigger
“At every cut (or marker)”The edit is the instruction about where. Cuts give you transitions for free; markers let you add one without cutting.
- 02
The material
“4-5 solid white rectangles on their own layer above the video”A small, countable set of simple shapes keeps the burst graphic, not noisy. Their own layer means the footage underneath is never touched.
- 03
The blend
“Set them to Difference blend, overlapping with staggered edges”White in Difference inverts whatever is beneath it, so the shapes become windows of negative picture. Where two overlap, the inversion cancels and the positive returns: that is the checkerboard.
- 04
The rhythm
“each blinking rapidly on and off (1-2 frames) out of phase with the others”Out of phase means coverage changes every single frame. That is what makes it flicker instead of fade.
- 05
The envelope
“At the peak, right on the cut… about 90%… builds a few frames before the cut and falls away a few frames after, about a third of a second total.”In the export that is 8 frames: four before, four after. The cut happens under near-total coverage, so the eye never sees the edit.
- 06
The variety
“Every cut gets a different arrangement and blink pattern. For vertical video, use tall slabs and wide bands across the narrow width.”Variety keeps fifteen bursts from feeling like one preset. The vertical clause means the same brief already knows how to fill a 9:16 frame.
- 07
The insurance
“Don’t split or trim clips, and leave audio untouched.”The effect is purely additive: the edit, its timing and the sound stay exactly as you made them.
THE RESULT
Output — Every Cut, Disguised
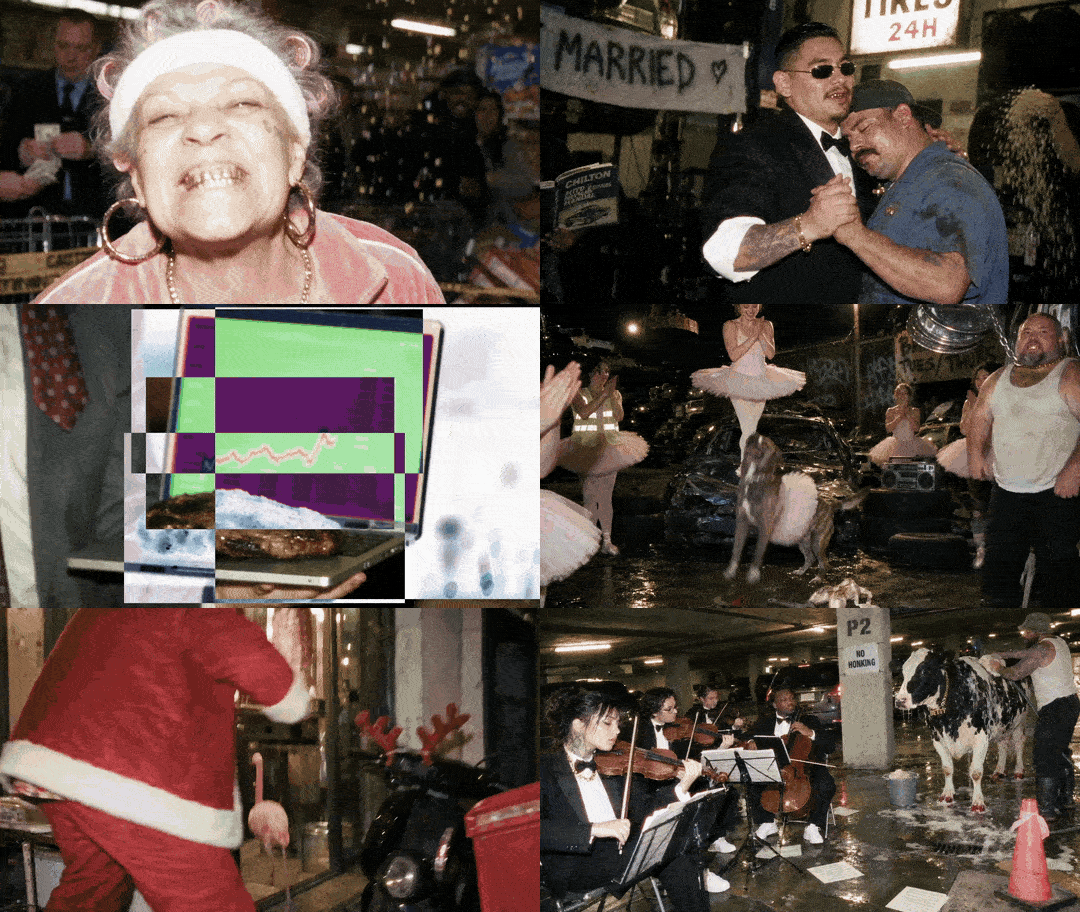
Check it against the brief. Each burst should last about a third of a second and peak exactly on the cut, the shapes should invert rather than whiten the picture, no two cuts should share a pattern, and the clips and the soundtrack should be exactly as you edited them. If a burst feels too long for your pace, shorten the envelope in the brief; if it feels like a preset, ask for fewer, larger shapes.
A THIRD OF A SECOND, FIFTEEN TIMES
Hide the cut inside the flash.
Swap rectangles for circles, lines or the letters of your title; swap Difference for Screen or Multiply; swap a third of a second for two frames. The skeleton carries any transition: the cut says where, the envelope says how long, the blend says how it looks, and one line of insurance keeps the edit and the sound exactly as you made them.

Every transition in this film came from one brief in invideo Editor: plain-language instructions, agents working on an editable timeline, fifteen patterns built and exported. Start your own edit here:
WRITTEN, DIRECTED & PROMPTED BY DENIZ AKKABAK · @DENIZ.AKKABAK